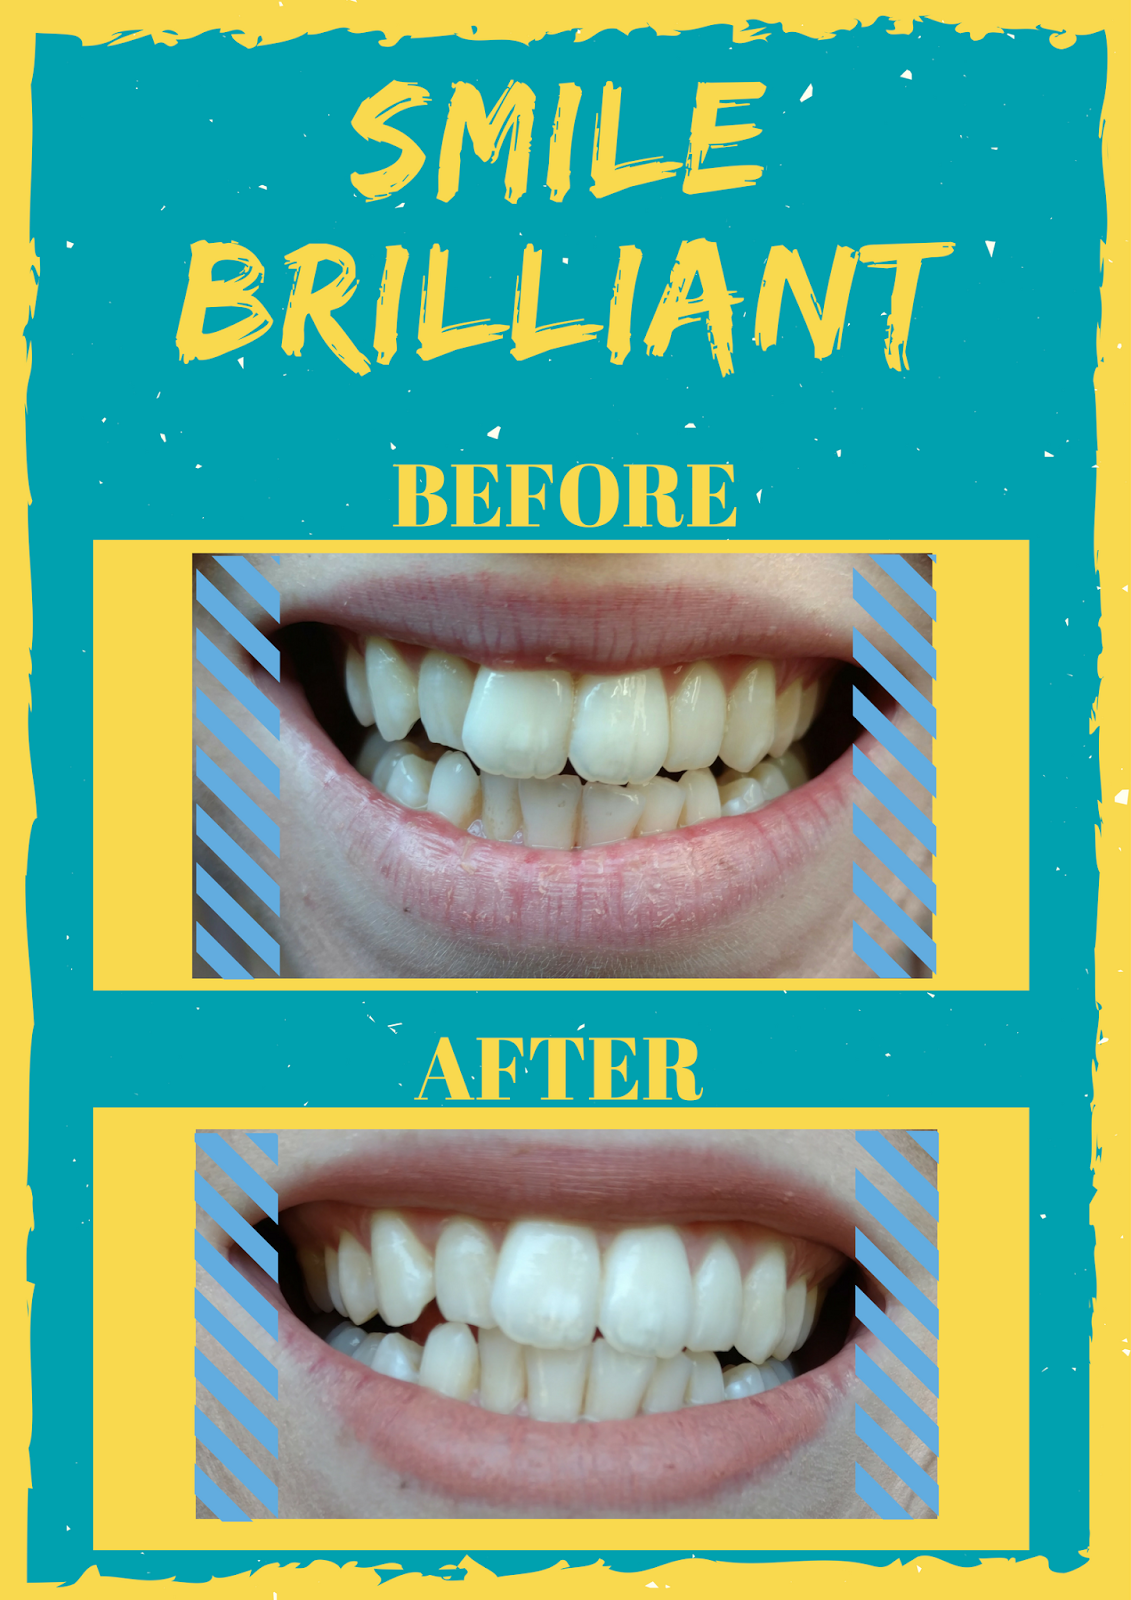
At Home Teeth Whitening For Tea Drinkers
Hello, friends! I was fortunately approached by a teeth whitening company called Smile Brilliant who wanted to collaborate together a few weeks ago. I started my teeth whitening journey with Smile Brilliant because I want a brighter smile that requires little effort and leaves great results. I drink a TON of tea which tastes delicious, but it also stains my teeth, leaving behind dark marks that stick to precious enamel.
In the past, I’ve tried tons of teeth whitening strips that just get super messy and smell awful! I’ve used every name brand whitening strip out there, but they all fall down my teeth and make me feel nauseous after using them. They also never truly extract the stains from my teeth out quite like the way I want.
So far I am loving my experience and wanted to share the process so you can get started today if you also want to achieve a brighter smile. I will detail every step of the process with you in today’s edition of Affordable by Amanda so you can understand how my experience with Smile Brilliant has been changing my teeth over time.
Keep reading because I also have an exciting GIVEAWAY !! where you can win your own custom whitening trays!!
Step 1:
Inside the box of goodies that you are sent in the mail are some teeth molding trays, and three catalyst and base containers to form your unique molds! You are also sent a few tubes of Teeth Whitening Gel (orange) and Desensitizing Gel (purple).
Step 2:
To begin making molds of your UPPER and LOWER teeth, you first need to gather one container of CATALYST and mix it with one container of the BASE puddy. It is important to do one set of teeth at a time and leave the tray in your mouth for at least 2 minutes 30 seconds. I used a timer on my phone and had my sister snap some hilarious photos of me forming my teeth trays!
Step 3:
Once your trays have formed molds on both your UPPER and LOWER teeth, you will send them away so your individual whitening trays will be formed in a lab.
Here is a look at my teeth trays, the convenient carrying case they are stored in, and two of the whitening gel and desensitizing gel tubes!
You are also sent a few tubes of Teeth Whitening Gel (orange) and Desensitizing Gel (purple).
Having custom fit trays really improves the whitening process, in my opinion. I have never tried using trays before, but now I am hooked. Creating your own trays that will fit every curve and edge of your unique set of teeth will ensure that ALL of your teeth are being whitened!
In this photo, I have my teeth whitening trays in! However, there is no limit to what I can do #whileiwhiten.
On this particular day I had some time to shoot some blog photos, so I kept my trays in for an hour while I captured some shots. What’s so neat about the Smile Brilliant trays are that they can be kept in your mouth for 45 minutes to up to 3 hours, so it’s OK if you leave them in for a while.
What else do I do #whileIwhiten? Watch Netflix, of course! I simply get comfy in my bed and play a few episodes of Shameless, which are 45 minutes long, and relax while the gel goes to work on making my teeth sparkle!
If you want to read up about Smile Brilliant and how they deliver high-quality vegan and cruelty-free gel ingredients to enhance your teeth whitening experience in the safest way possible, make sure to READ up about their FAQs!
Ok, now onto the FUN PART! Thank you again for reading my teeth whitening experience with Smile Brilliant. I want to give my lovely readers a chance to WIN their own set of CUSTOM TRAYS!
And if you want a 5% off coupon code enter this: affordablebyamanda10 at checkout!
*Thank you so much to Smile Brilliant for working with me on this post! All opinions stated are my own.


