How to Give Yourself a Manicure at Home
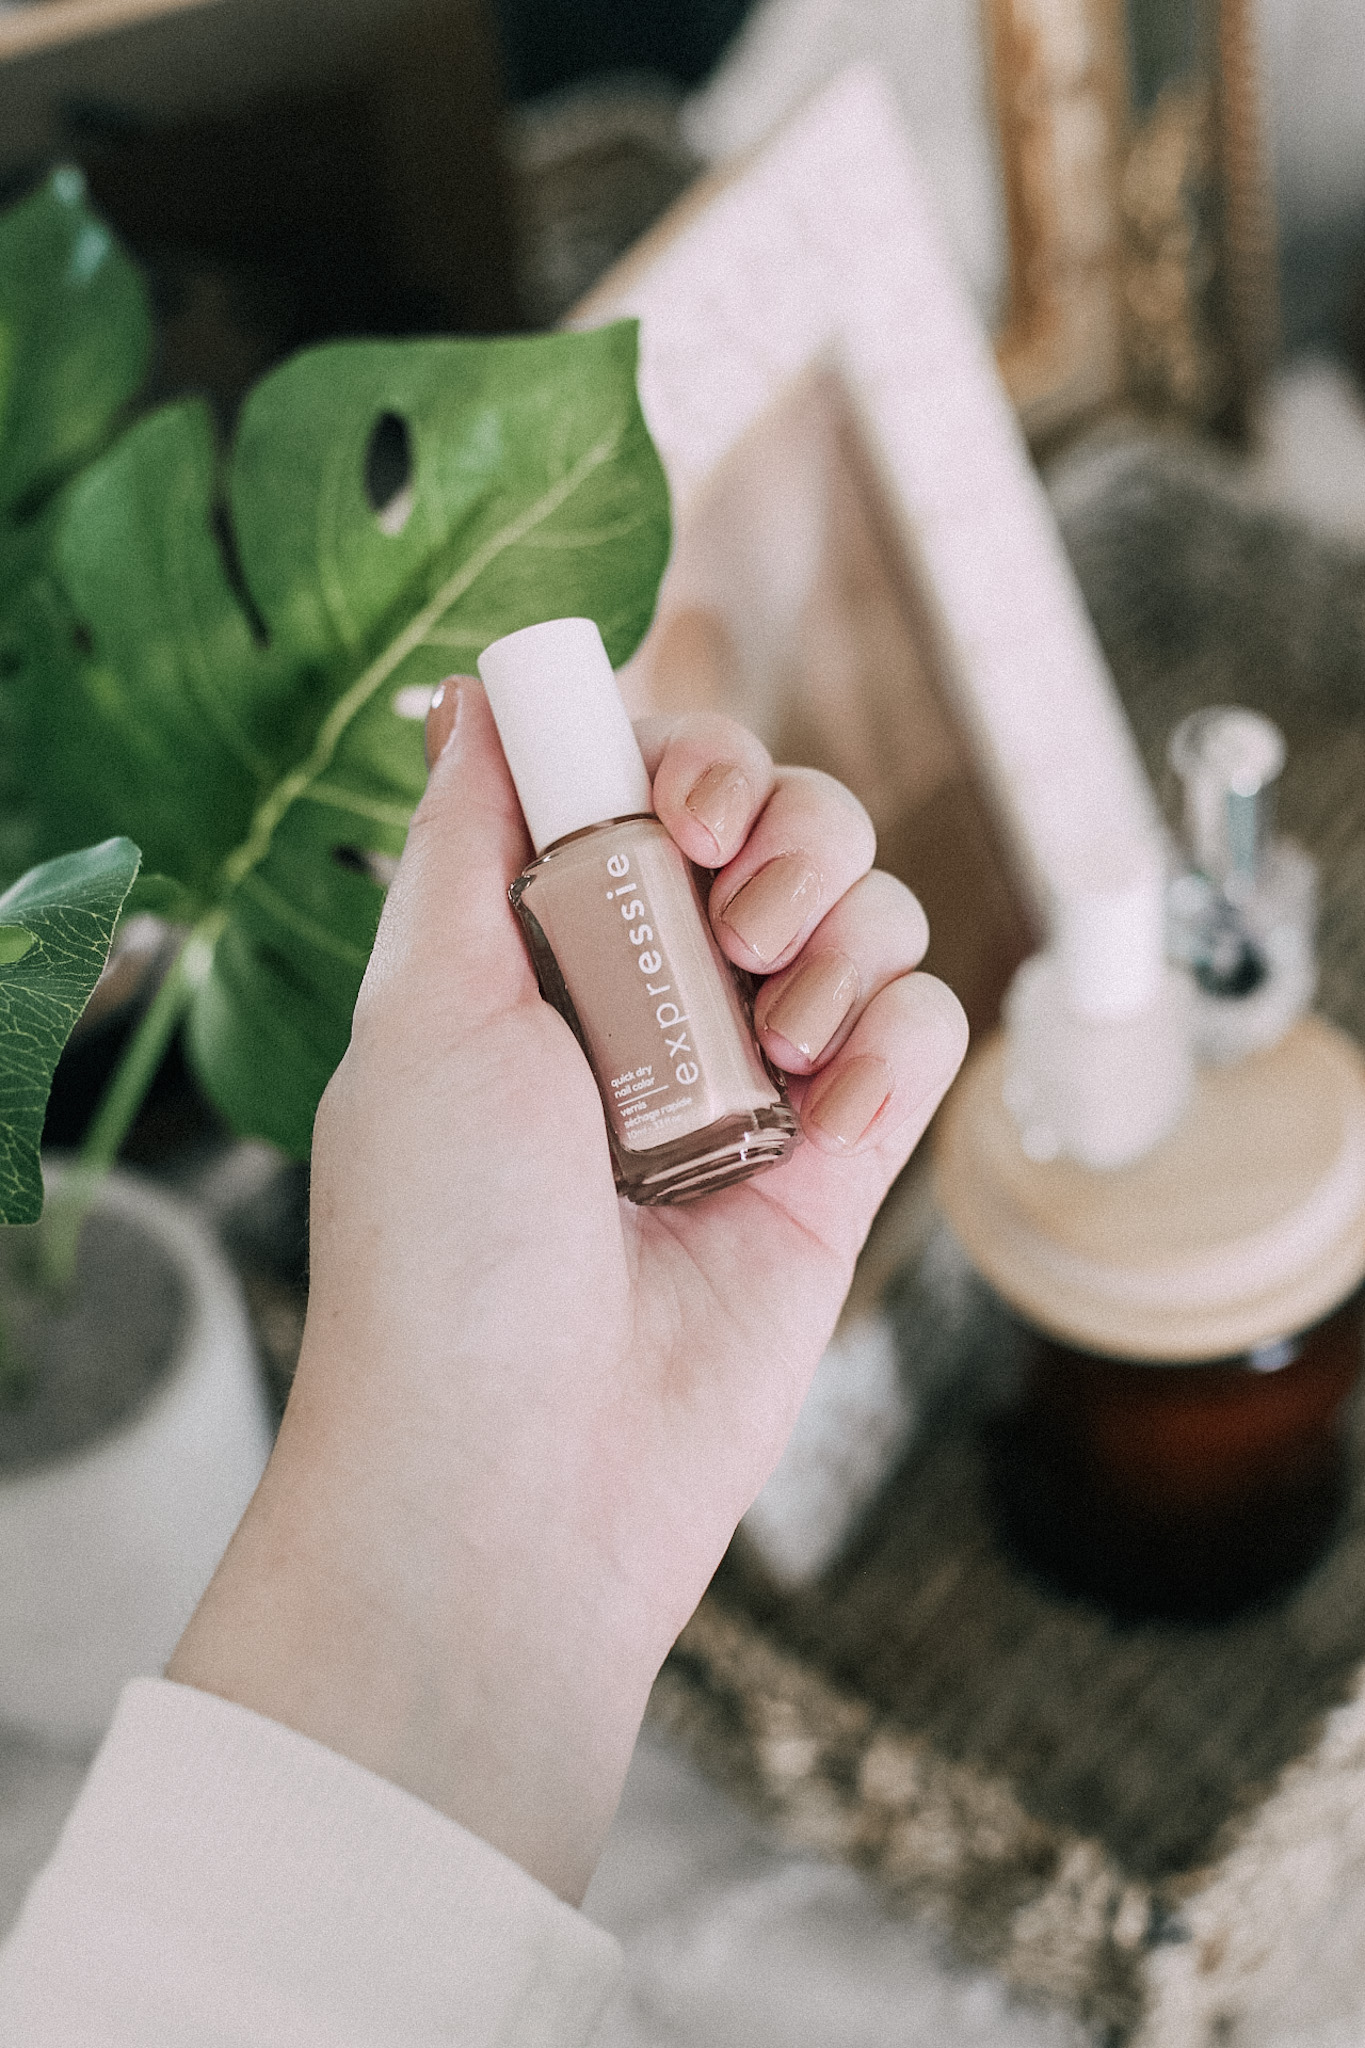
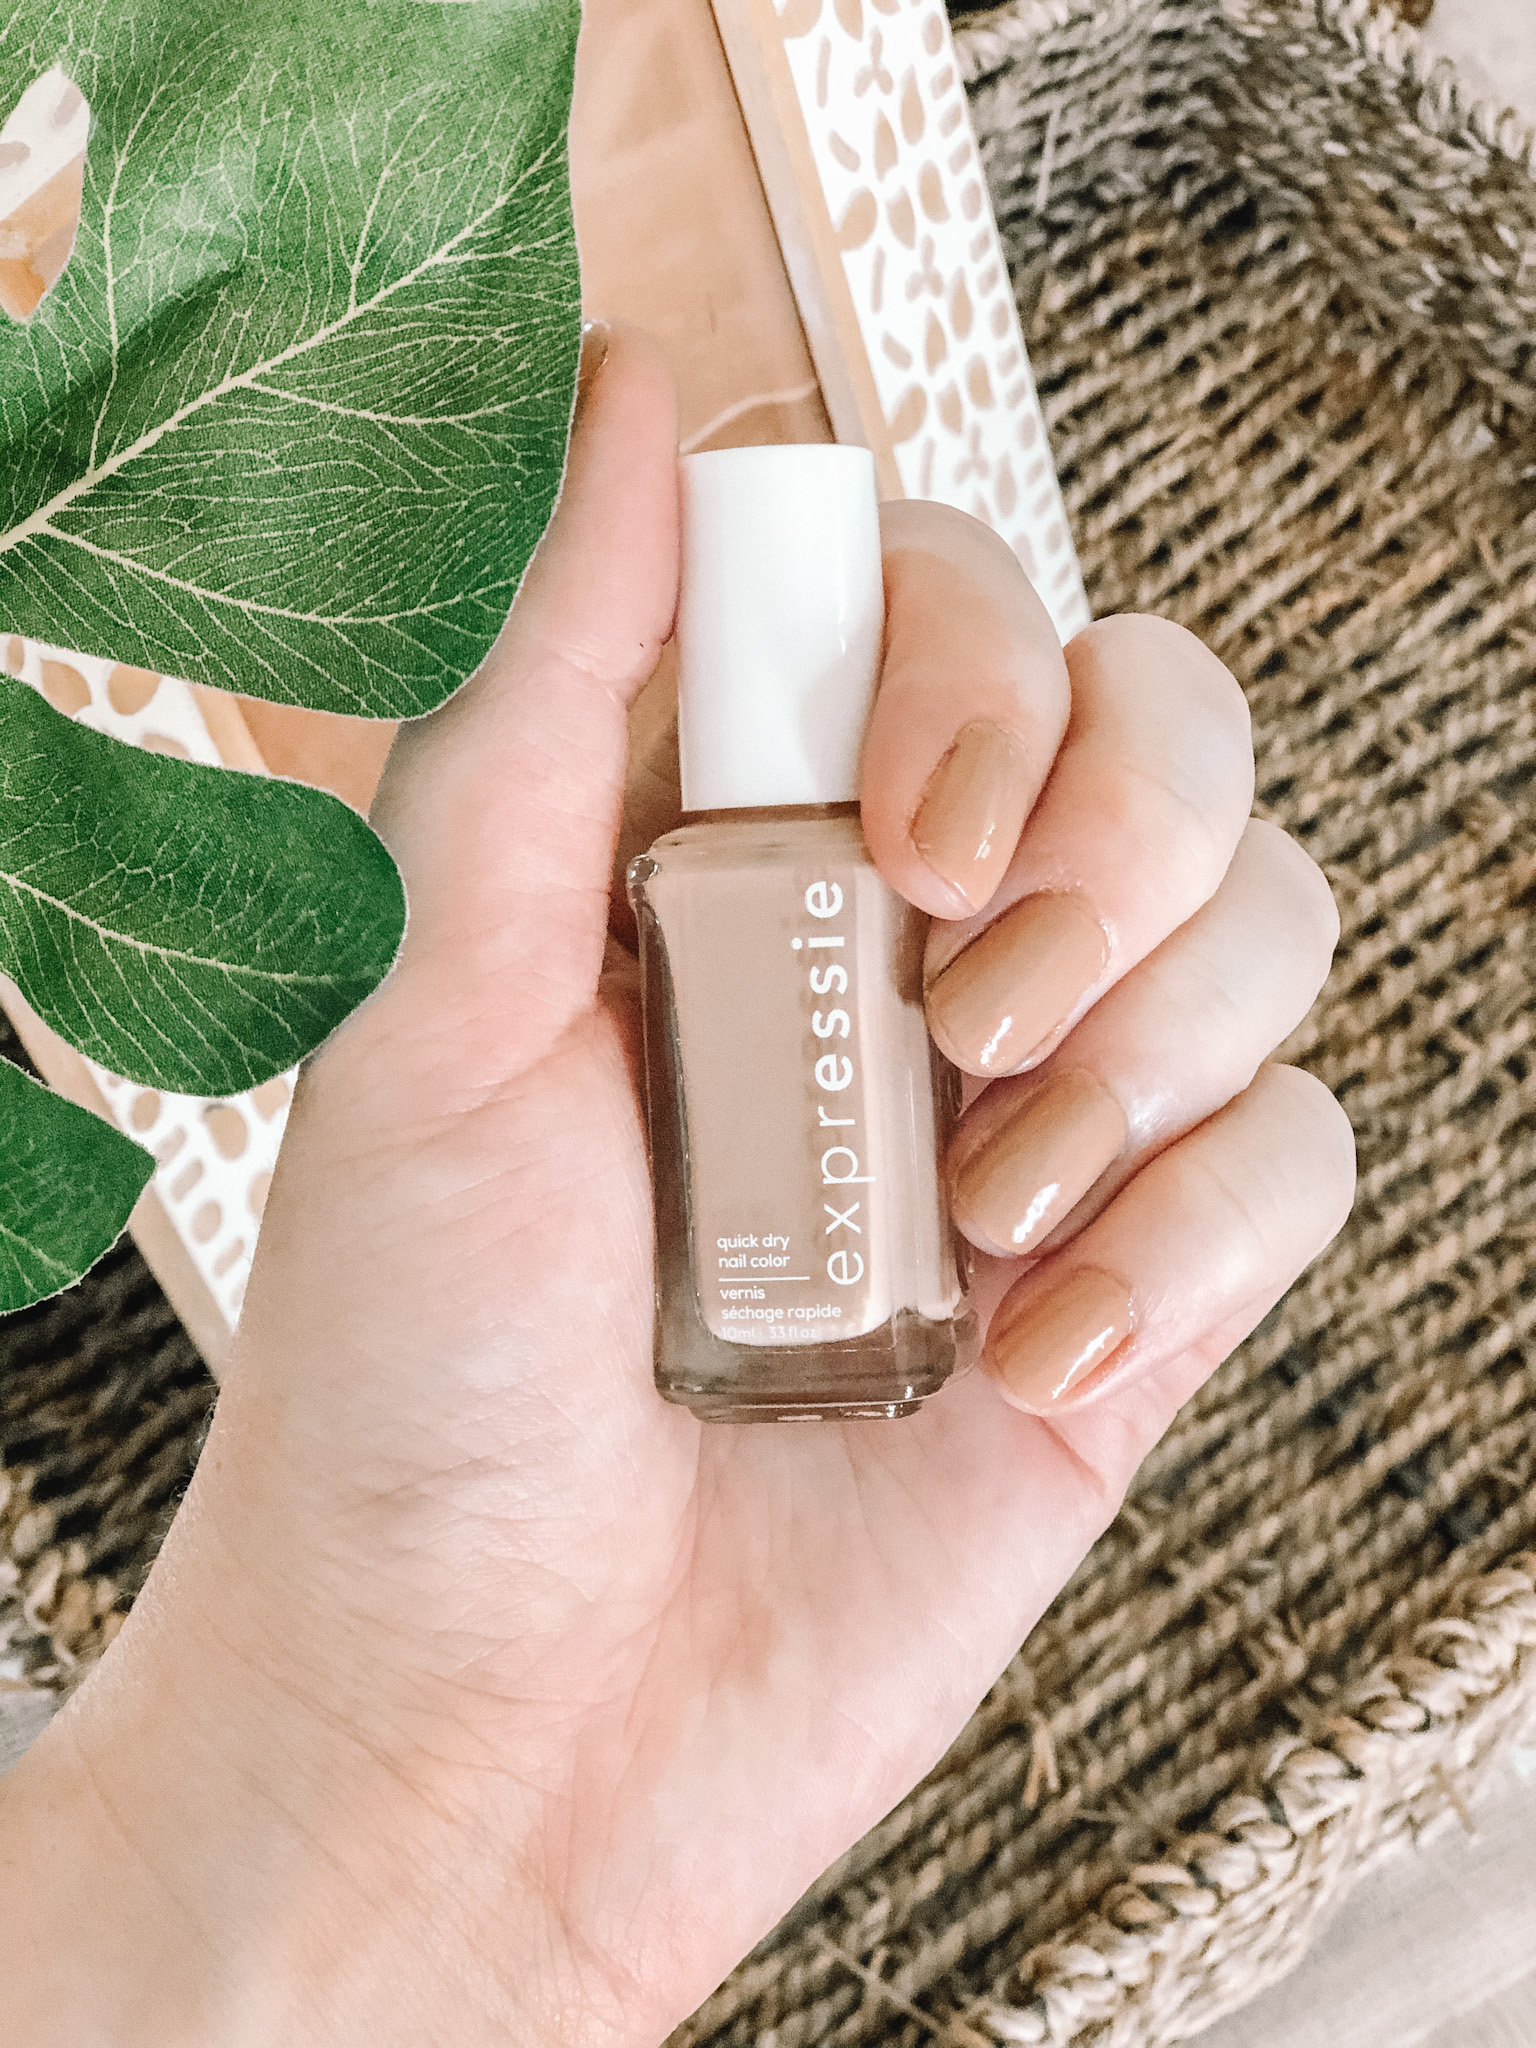
essie Base Coat, $9.00 | essie expressie Quick-Dry Nail Polish in the color “060 Buns Up” | essie good to go top coat
How to Give Yourself a Manicure at Home
The other day I stepped out of the house to pick up some prescriptions and groceries at Walgreens. Of course, I put on my mask to safely enter the store first. Once I entered Walgreens, I noticed some upgrades to the Essie Nail Polish section. After browsing through the selection of new Essie nail polishes, I decided to pick up a couple of new polishes to give myself a manicure at home.
Honestly, I am not someone who gives herself at-home manicures on a regular basis. I’m an avid nail salon customer who requests gel nail manis and pedis each month. Since nail salons remain closed for now I am switching up my routine and giving myself more at-home manicures instead. I haven’t touched my toes yet (I unfortunately still have gel polish on them!) so my nails are the only ones I am committing to changing out at the moment. I just recently did my nails so I am recounting the exact steps that I took to achieve a glossy, neutral look in minutes using all products from essie.
What Do You Need for the Perfect Manicure at Home?
In order to prepare your nails for an at-home manicure, you first need to take care of the polish you may have on them. For my nails, I took off my old nail polish using these Cutex Swipe and Go Nail Polish Remover pads that you will find on Amazon for $7.00. Having clean nails will ensure that your new manicure lasts longer and has a smooth surface.
Don’t forget to prep your nails by taking care of the nail beds and length. After removing old nail polish, your next step in achieving the perfect at-home manicure includes buffing out any edges on the nail beds. I’d recommend investing in a complete manicure set such as this $9.00 one from Amazon to prep your nails with all the right tools. These tools are professional and get the job done. A professional manicure set will last you manicure after manicure, too.
Step-by-Step Guide to Prepping the Nails
1. Remove old nail polish with nail polish remover.
2. Buff the nail beds using a nail file until smooth.
3. Cut down long nails using a nail clipper.
4. Wash your hands with soap and water to remove nail trimmings.
1. essie Base Coat, $9.00
Every great nail salon will prep your nails with a layer of base coat prior to applying any color. At-home manicures are no exception! Applying a base coat will make sure your nail polish stays on for as long as possible. A base coat smooths protects the nails to bond nail polish to the nail surface to resist chipping. Most base coats also dry down quickly so you can move on to applying the nail polish color of your choice.
My method for creating the perfect at-home manicure includes applying two coats of base coat to my clean nails. At Walgreens, I found the right base coat formula for me from essie that promises to protect and adhere to the nail polish.
2. essie expressie Quick-Dry Nail Polish, $8.97
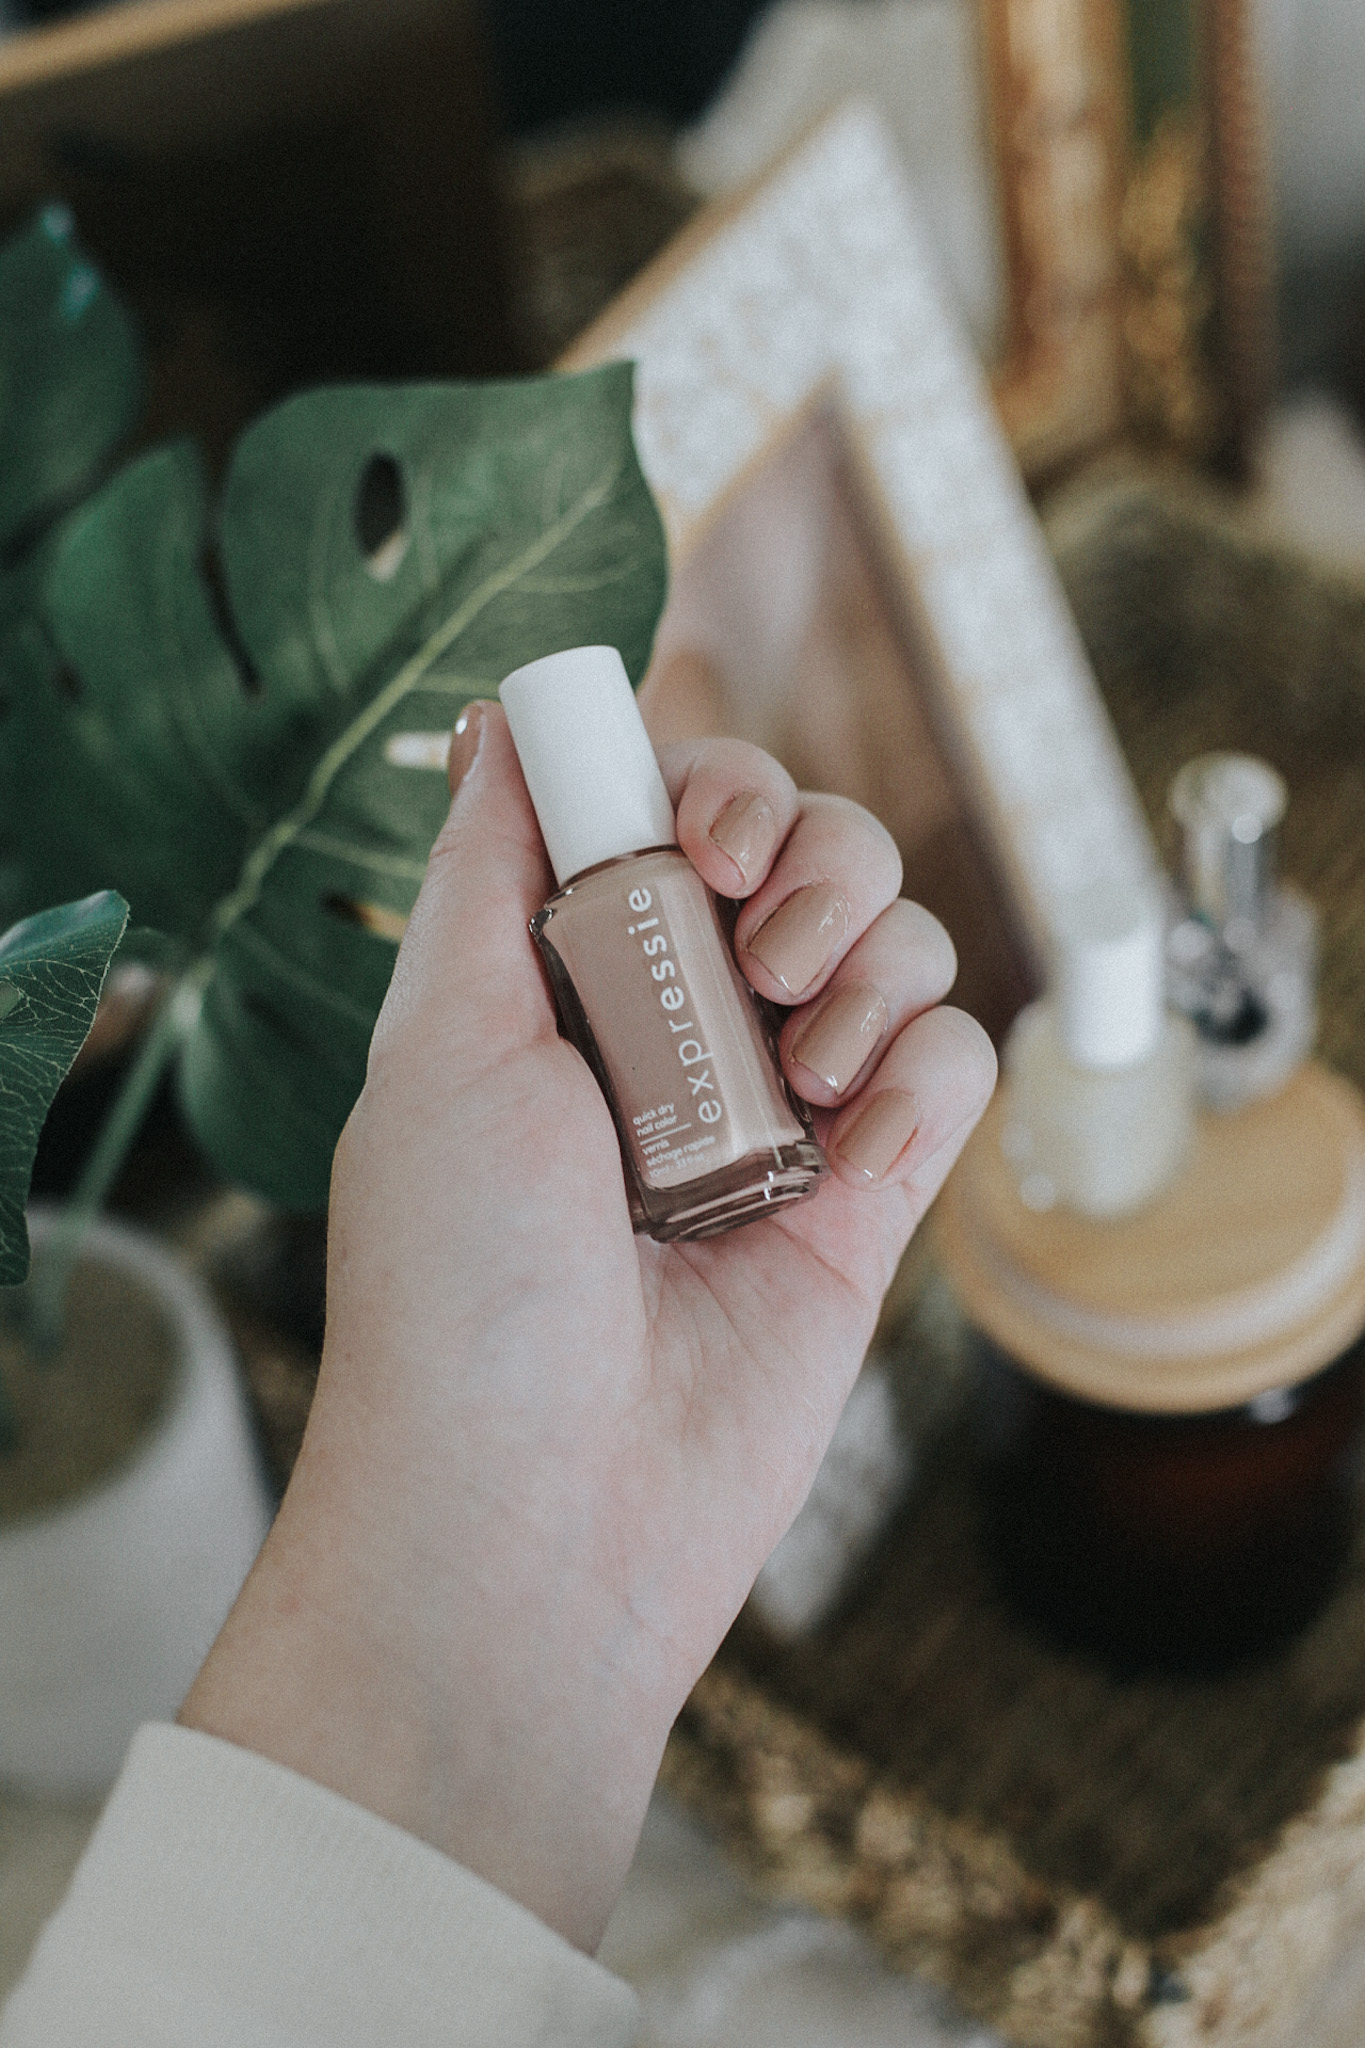
The next step to the perfect manicure at home counts as the fun part — choosing a pretty shade of nail polish! Spring tones are on my mind, so I chose a neutral nail polish in the shade “060 Buns Up” as well as a punchy seafoam green in “310 Express to Impress”. For my first at-home manicure, I went with “060 Buns Up” and after this polish eventually fades and wears off I will switch over to the seafoam green color.
What I enjoyed the most from this particular nail polish was the angled brush for expert precision. According to essie, this brand new line of nail polishes features newly designed angled brushes. The angled brush generously applies the nail polish and didn’t allow me to make too many mistakes on my non-dominant hand. The polish delivers quick-drying power in under a minute. After applying two coats of polish, my nails looked like I had walked straight out of the nail salon! The polish looks glossy and fresh and took no time at all to dry down.
My At-Home Manicure Must-Haves
3. essie good to go top coat, fast dry + shine, $8.97
One final key step to completing a beautiful manicure at home? Finishing a manicure with two coats of shiny top coat. Top coat locks in the nail polish to prevent signs of chipping. The essie top coat I ended up purchasing from my trip to Walgreens sets nail color in a flash. The protective topcoat constitutes as the final step in a beautiful manicure at home.
I am thrilled and impressed with how my at-home manicure turned out. This step-by-step process only took me a matter of 15 minutes once I set up my mini nail salon at the dining room table and laid out all of the products in front of me.
See the finished product in the image below. This gorgeous neutral beige nail polish couldn’t be a nicer formula and will pair well with my outfit looks. I’m hooked on the quick-dry expressie line of polishes and hope to order some other colors later this month for summertime!


The Comments
How to Shave Your Legs Perfectly - How to Shave your Legs in the Shower
[…] with my blog posts. Lately, most of my blog posts have covered everything from achieving the best at-home manicure to cozy loungewear favorites from Old Navy. Today’s post also covers something us gals are […]